Building a Windows Server
Brightbox supports Microsoft Windows® as an operating system, with integrated hourly licencing.
This guide assumes you’re already set up and have the command line interface working. If not, follow the getting started guide to get you up to speed.
Building your first Windows Server
First, we need to choose an Image to use:
$ brightbox images list | grep Windows

 id         owner      type      created_on  status  size   name
--------------------------------------------------------------------------------------------
 img-4q98z  brightbox  official  2012-01-24  public  20480  Windows Server 2008 R2 (x86_64)
--------------------------------------------------------------------------------------------
We can see there is an “official” Brightbox image for “Windows Server 2008 R2”:
$ brightbox images show img-4q98z

                id: img-4q98z
              type: official
             owner: brightbox
        created_at: 2012-01-24T09:42
            status: public
              arch: x86_64
              name: Windows Server 2008 R2 (x86_64)
       description: RDP enabled. Set administrator password via console first.
          username: administrator
      virtual_size: 20480
         disk_size: 9473
            public: true
compatibility_mode: false
          official: true
       ancestor_id:
Now we just build a server like any other, using this image id:
$ brightbox servers create -n "webserver" -t mini img-4q98z

Creating a mini (typ-iqisj) server with image Windows Server 2008 R2 (img-4q98z)

 id         status    type  zone   created_on  image_id   cloud_ip_ids  name
----------------------------------------------------------------------------------
 srv-whijs  creating  mini  gb1-a  2012-02-01  img-4q98z                webserver
----------------------------------------------------------------------------------
Opening up the firewall
While the new server is building, which should take around 2 minutes, let’s make sure our default firewall policy allow us to connect to this server via remote desktop (RDP).
$ brightbox firewall-policies list

 id         server_group  name
-----------------------------------------------
 fwp-hvik9  grp-98v4n     default
-----------------------------------------------

$ brightbox firewall-rules list fwp-hvik9

 id         protocol  source     sport  destination  dport      icmp_type     description
------------------------------------------------------------------------------------------
 fwr-n7d92  -         -          -      any          -          -
 fwr-sz6b8  icmp      any        -      -            -          echo-request
 fwr-2ygl8  tcp       any        -      -            22,80,443  -
 fwr-4ifmz  -         grp-98v4n  -      -            -          -
------------------------------------------------------------------------------------------
As we can see here, only tcp ports 80, 443 and 22 are allowed by
the default policy. Let’s add a rule to allow the remote desktop
service (tcp port 3389):
$ brightbox firewall-rules create --source=any --protocol=tcp --dport=3389 fwp-hvik9

 id         protocol  source  sport  destination  dport  icmp_type  description
--------------------------------------------------------------------------------
 fwr-gjzw4  tcp       any     -      -            3389   -
--------------------------------------------------------------------------------
Setting the administrator password
Once the server has changed to status active you can activate the
graphical console.
$ brightbox servers activate_console srv-whijs

Activating console for server srv-whijs

 url                                                             token     expires
------------------------------------------------------------------------------------------------
 https://console.gb1.brightbox.com/srv-whijs?password=7j44cuch  7j44cuch  2012-02-01T17:21:11Z
------------------------------------------------------------------------------------------------
Then open the url in a supported browser to access the console and you’ll see the welcome screen:
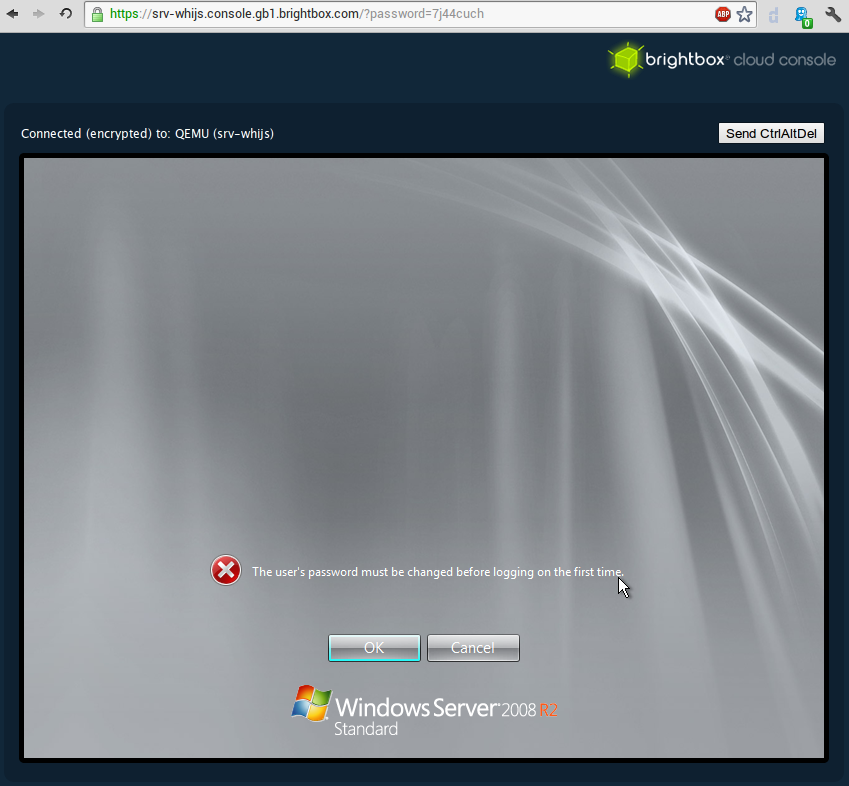
Set yourself a new password for the administrator account:
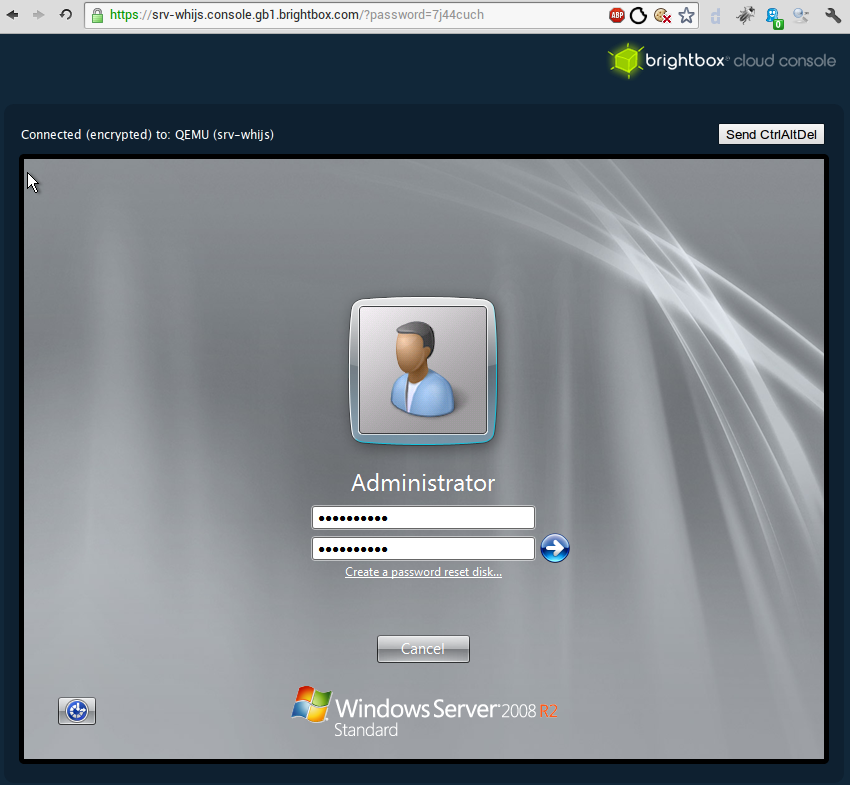
Our Windows images are configured with the remote desktop service enabled by default, so you should now be able to connect to your new server over the network.
If you have IPv6
setup locally you can connect directly right now using the dns name
ipv6.srv-whijs.gb1.brightbox.com. If you’re not IPv6 enabled you’ll
need to map a Cloud IP to it first:
$ brightbox cloudips create

 id         status    public_ip       destination  reverse_dns
----------------------------------------------------------------------------------------
 cip-zd2me  unmapped  109.107.38.252               cip-109-107-38-252.gb1.brightbox.com
----------------------------------------------------------------------------------------

$ brightbox cloudips map cip-zd2me srv-whijs

Mapping cip-zd2me to interface int-gj1km on srv-whijs

 id         status  public_ip       destination  reverse_dns
--------------------------------------------------------------------------------------
 cip-zd2me  mapped  109.107.38.252  srv-whijs    cip-109-107-38-252.gb1.brightbox.com
--------------------------------------------------------------------------------------
And now you can access your server using the password you set:
$ rdesktop -u administrator public.srv-whijs.gb1.brightbox.com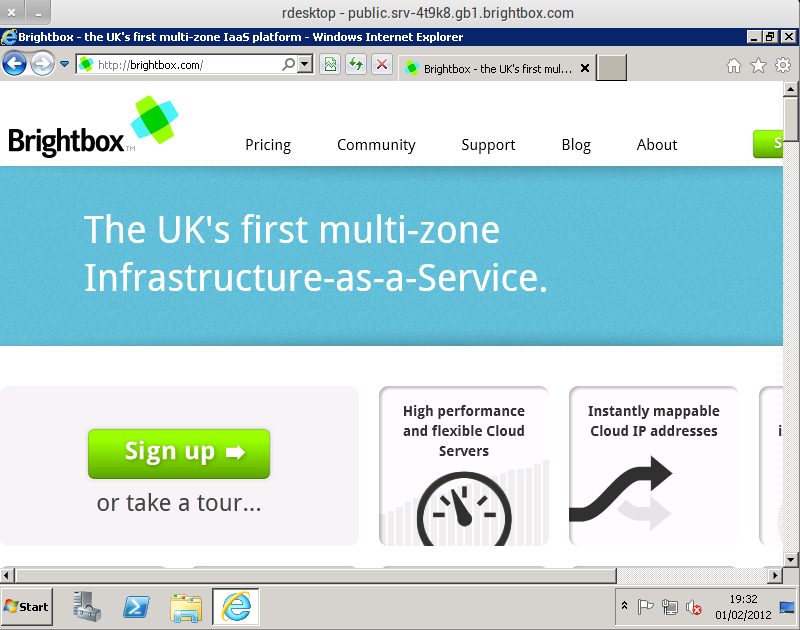
Billing
Windows cloud servers incur an hourly Windows licence fee, in addition to the regular hourly rate for the server type you choose (in this case a “mini”). The hourly Windows licence usage is shown separately on your bill.
See our pricing for full pricing information.
Snapshots
Snapshots of servers using the Windows images inherit the license, so a Windows server built from a snapshot of another is charged as if you used the original image.